
Saturday, December 21, 2019
Kimono silk drawstring bag
Another Japanese origami/patchwork drawstring bag but this time made with vintage kimono silk. The are three different silks used to make up the outside and another silk for the lining. It's finished size is 12cm in height, with a square base of 10 cm and a perimeter of 44cm at the top. It's a perfect size for keeping small treasures.

Friday, December 13, 2019
Jodiericrac - Parsley & Beet
 |
| Can stand (with support) |
 |
| Can sit |
 |
| With the button joint |
Tuesday, November 5, 2019
Japanese inspired drawstring bags
Using a combination of ideas from Kumiko Sudo's book Omiyage and a pattern from kimoYES I've been playing around with scraps of Liberty fabric to try my hand at making drawstring bags with a Japanese influence. The construction is 'patchwork meets origami' with triangles and rectangles coming together to make a square-based bag. Casings are added to the top for the drawstrings. The lining is a rectangle sewn with a series of darts to shape the base. Once I got the hang of putting each piece together (although it did take a few tries!!), it was a straightforward process.

 The base of the bag with the rectangles coming together to form a square.
 |


Friday, September 27, 2019
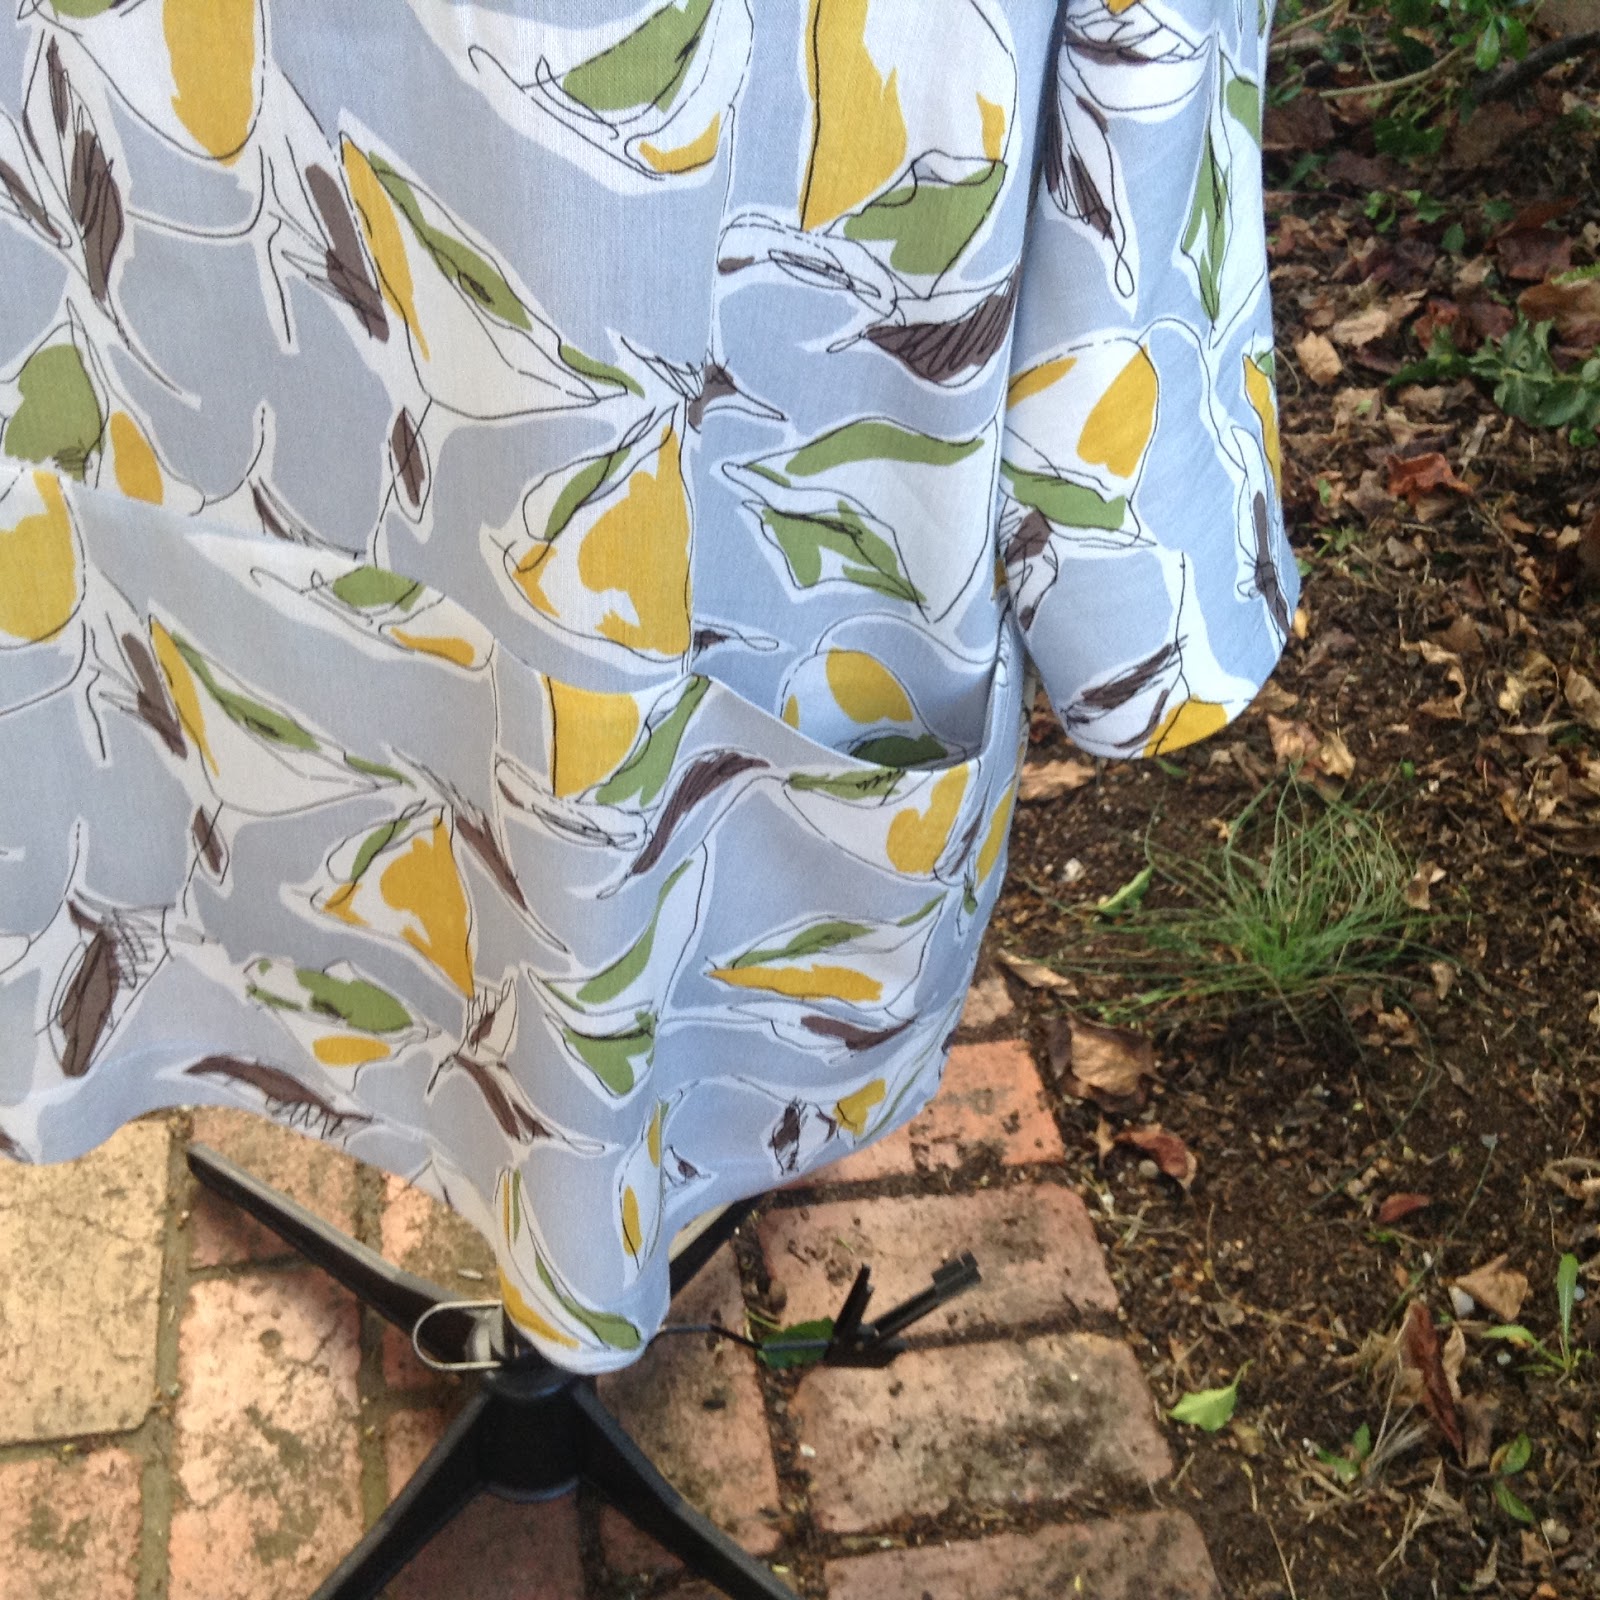
Vogue 9193
My latest make - Marcy Tilton's Vogue 9193. I like the asymmetrical lines and the pocket. I had read on the Pattern Review website that the sleeves are quite narrow, so I sewed a narrower seam allowance towards the end of the sleeve. I also hemmed the sleeves with bias binding to further reduce any narrowing of the sleeve by having a hem. The other change I made was to raise the front and back necklines by about 1/2 inch and to finish the neckline with a self fabric bias binding rather than the neck binding treatment given in the pattern. The fabric is a cotton/linen blend from a new fabric shop that has recently opened in inner Melbourne - Drapers Fabrics in Fitzroy.


Thursday, August 22, 2019
stylearc maisie designer dress

Friday, April 13, 2018
More baby bucket hats
Although they are a little fiddly to make, I love sewing bucket hats as I can use different fabrics to create something unique. Using the free pattern from oliver + s I have made a winter weight hat using a fine weight corduroy and another summer hat. These are both size 6-12 months.

I don't do any hand sewing as suggested by the instructions when attaching the lining. I attach the lining by sewing it just within the seam allowance of the first attached brim and cap, leaving a small gap to pull the hat through. The gap is then closed when the brim and cap seam is top stitched.
 The inside with the gap in the lining stitched closed with the top stitching.

 |

Sunday, January 21, 2018
Hats off to hats
I had fabric left over from making the sunbonnet and thought I would try making a bucket hat for my grandson. I found a free children's reversible bucket hat pattern from Oliver + S. I only used iron on interfacing on one side of the brim which made the hat quite soft stucturally.
 I chose to make the inside brim from the same fabric as the outside brim which was different to the instructions. It was an easy make and will fit my grandson next summer.


There will be more hats made as I already have requests from one daughter and my daughter-in-law.


Inspired by making a hat for a baby I thought I would give it a go to make a hat for myself. I bought a Yousewgirl adult hats pattern from GJs. It's a great pattern as it has multiple sizes and multiple brim widths and the instructions are like having your own private sewing teacher at your elbow.
The first hat was a toile using a linen from Spotlight and cheap iron on interfacing.

The hat is firm in its structure and fits really well. The brim can be turned up too.
Feeling confident I tried making another one, this time only interfacing the brim. The hat is softer in structure and so I was able to attach the lining by machine rather than by hand. I could get away with not interfacing all parts of the hat as the outer fabric was a heavier weight cotton.

Subscribe to:
Posts (Atom)